Thinkpad T430 Upgrading
Intro
I have an old Lenovo Thinkpad T430 that I decided to upgrade. These laptops are pretty well renowned as being some of the last great thinkpads and as such people have found lots of ways to keep them relevant even 10+ years later.
I got most of my inspiration for this project from The Definitive T430 Modding Guide as well as the ThinkWiki Hardware Modifications page. I decided to upgrade the display, keyboard, ram, and hard drive. I would have liked to have also upgraded the CPU but prices (As of 08/2022) for even the old CPUs that would be compatible with my T430 are really expensive right now, most likely due to the current chip shortage.
Parts
RAM and Hard Drive
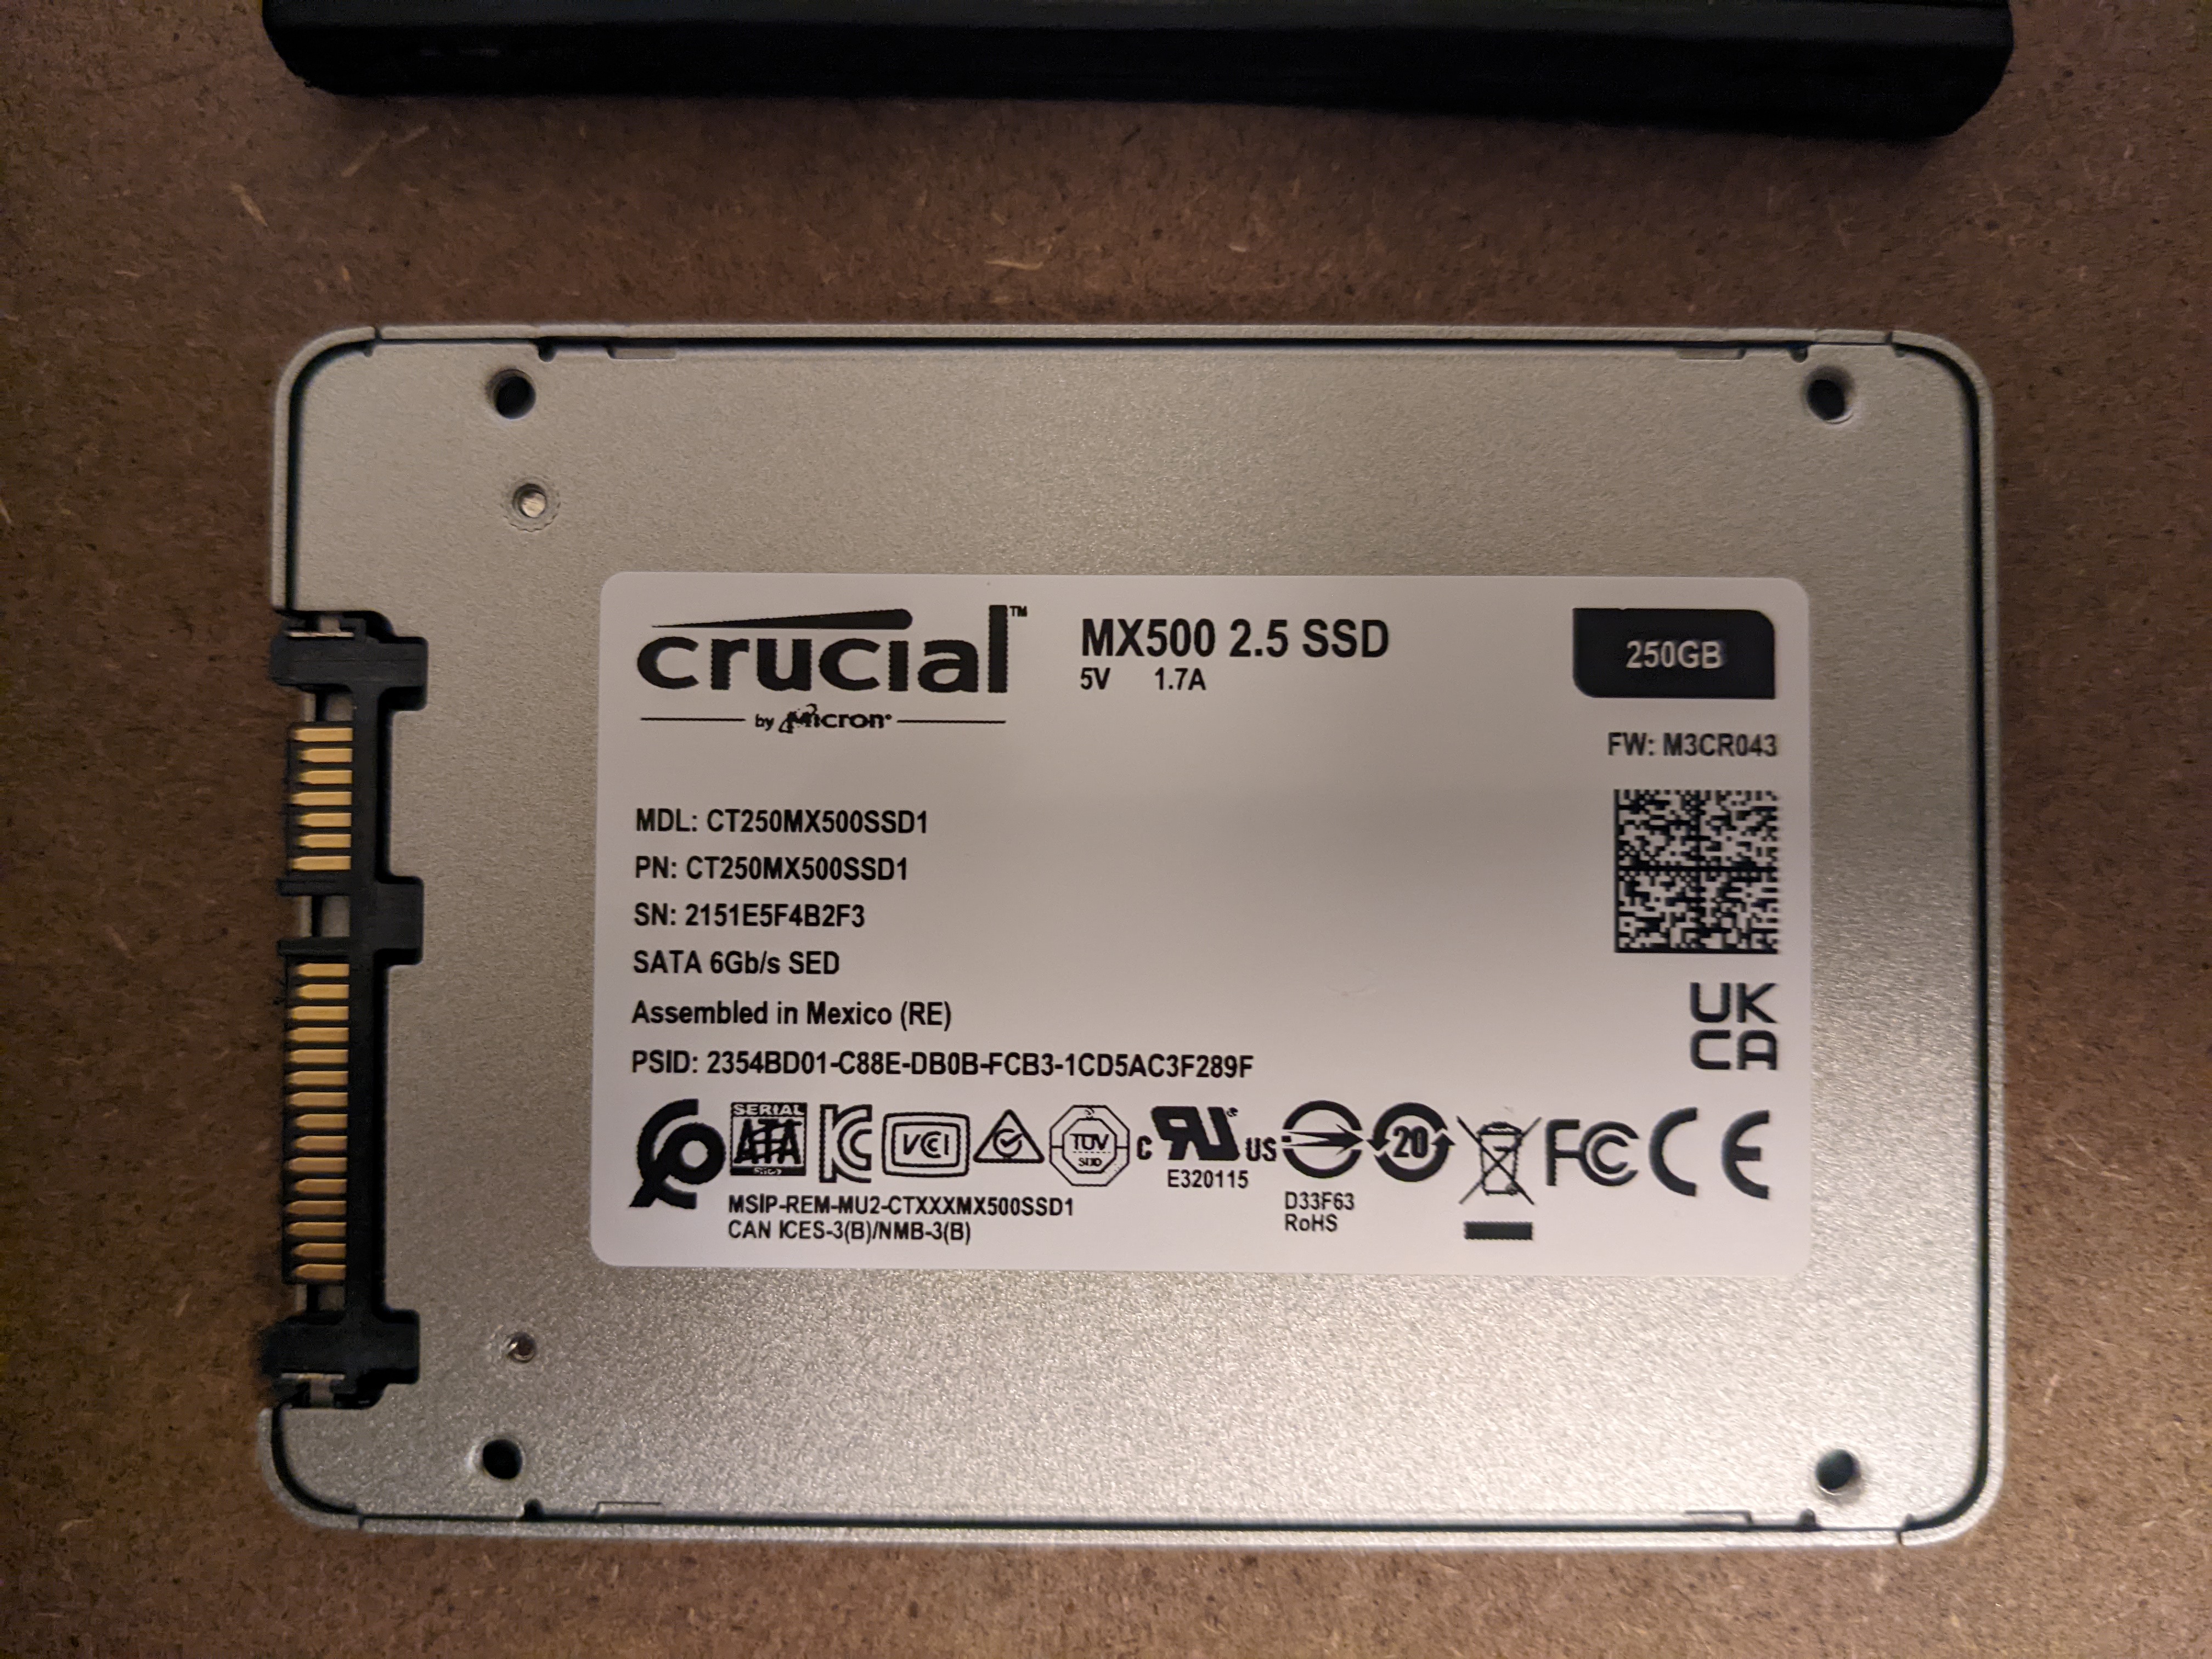
For my RAM upgrade I went with Crucial 16GB DDR3 mainly because it was cheap and compatible. For my HD upgrade I went with a Crucial MX500 250GB SATA 2.5 Inch Internal SSD once again because it was cheap and compatible with my laptop. I don’t need a ton of storage space because I will mainly be using the laptop for web browsing anyways! For the keyboard I went with the one listed in the Definitive Modding Guide and purchased it from amazon.
Display
For the display I decided to upgrade to a 1600x900 HD+ screen. Thinkwiki lists three different options for compatible displays. Since I’m one of the few people who prefers a glossy screen over a matte screen and I wanted a display that was a ‘drop-in’ replacement I decided to try for the LP140WD2 which is the display found in the Alienware M14x.
Searching eBay or google for those different display model #’s yielded quite a few listings for displays that are ‘compatible’ with those models but not the actual model itself. There were also numerous warnings in various Reddit posts to avoid the knock-off compatible displays as they are of lesser quality. I finally found this post on Reddit that pointed me to parts-people.com.
I purchased the Alienware M14x screen that was actually sold as the complete display assembly at parts-people.com because the display only was sold out.
Install
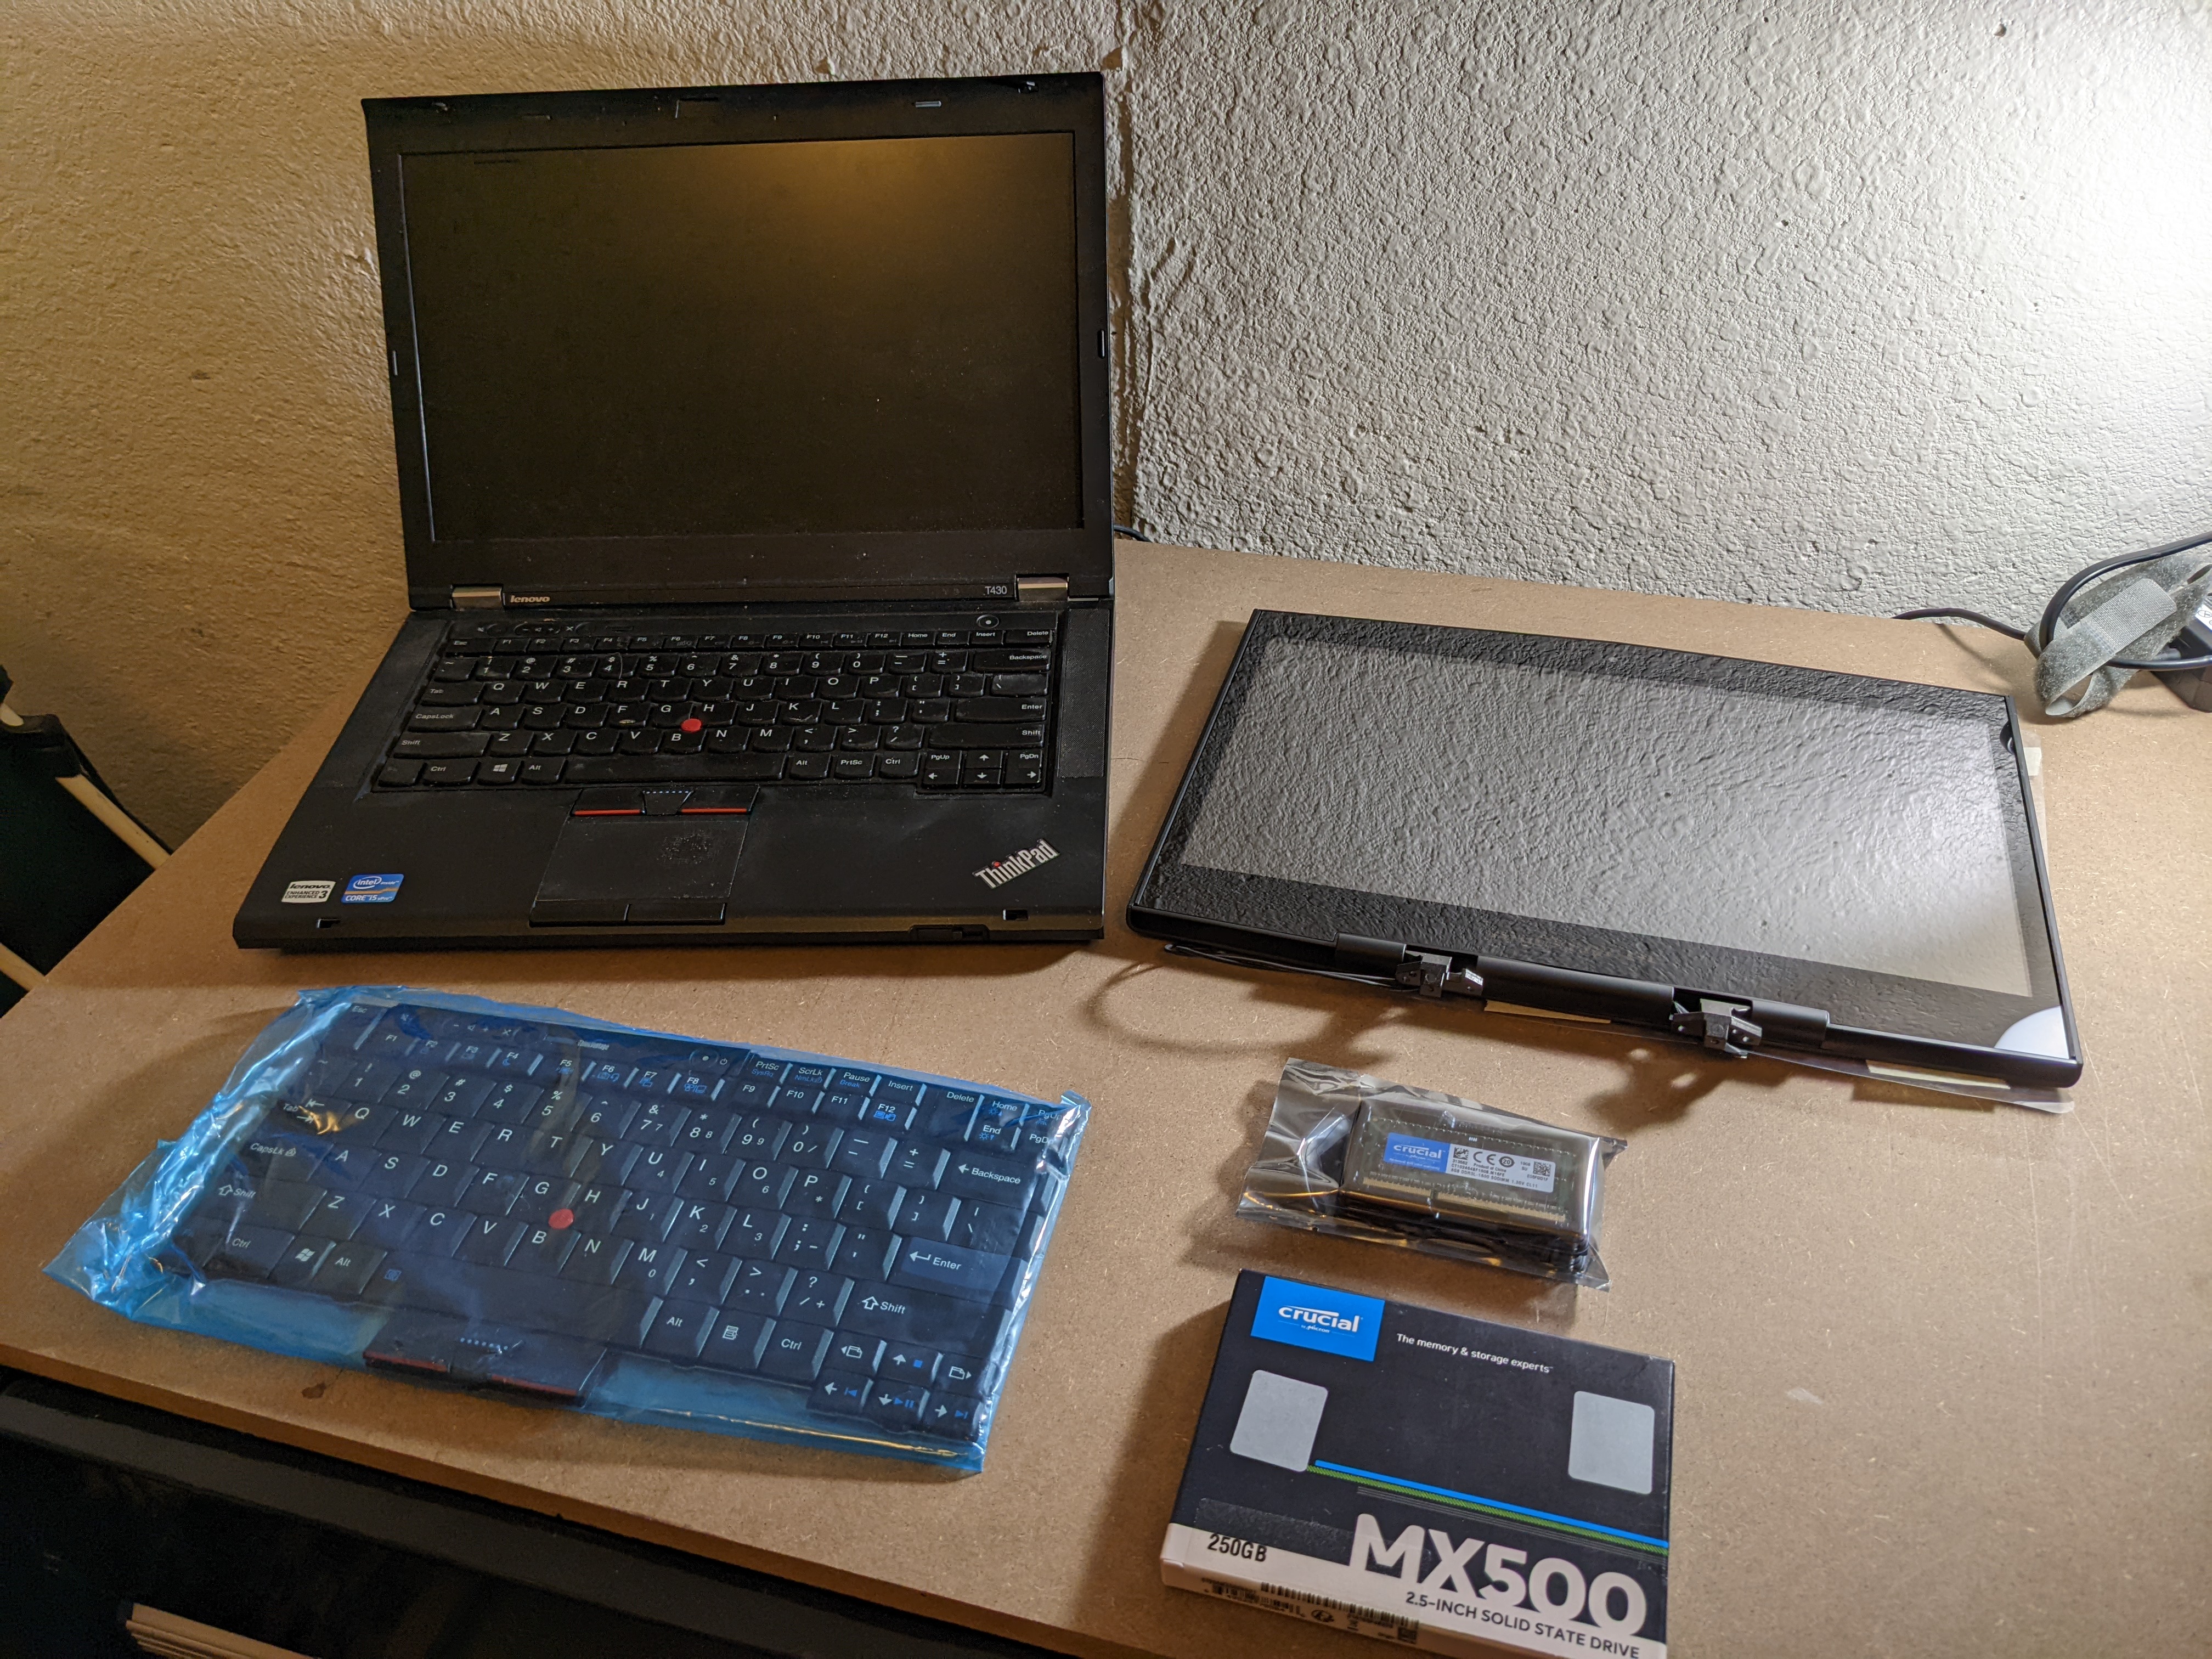
Finally, with all my parts assembled it was time to begin upgrading.
The patient before surgery:
Display
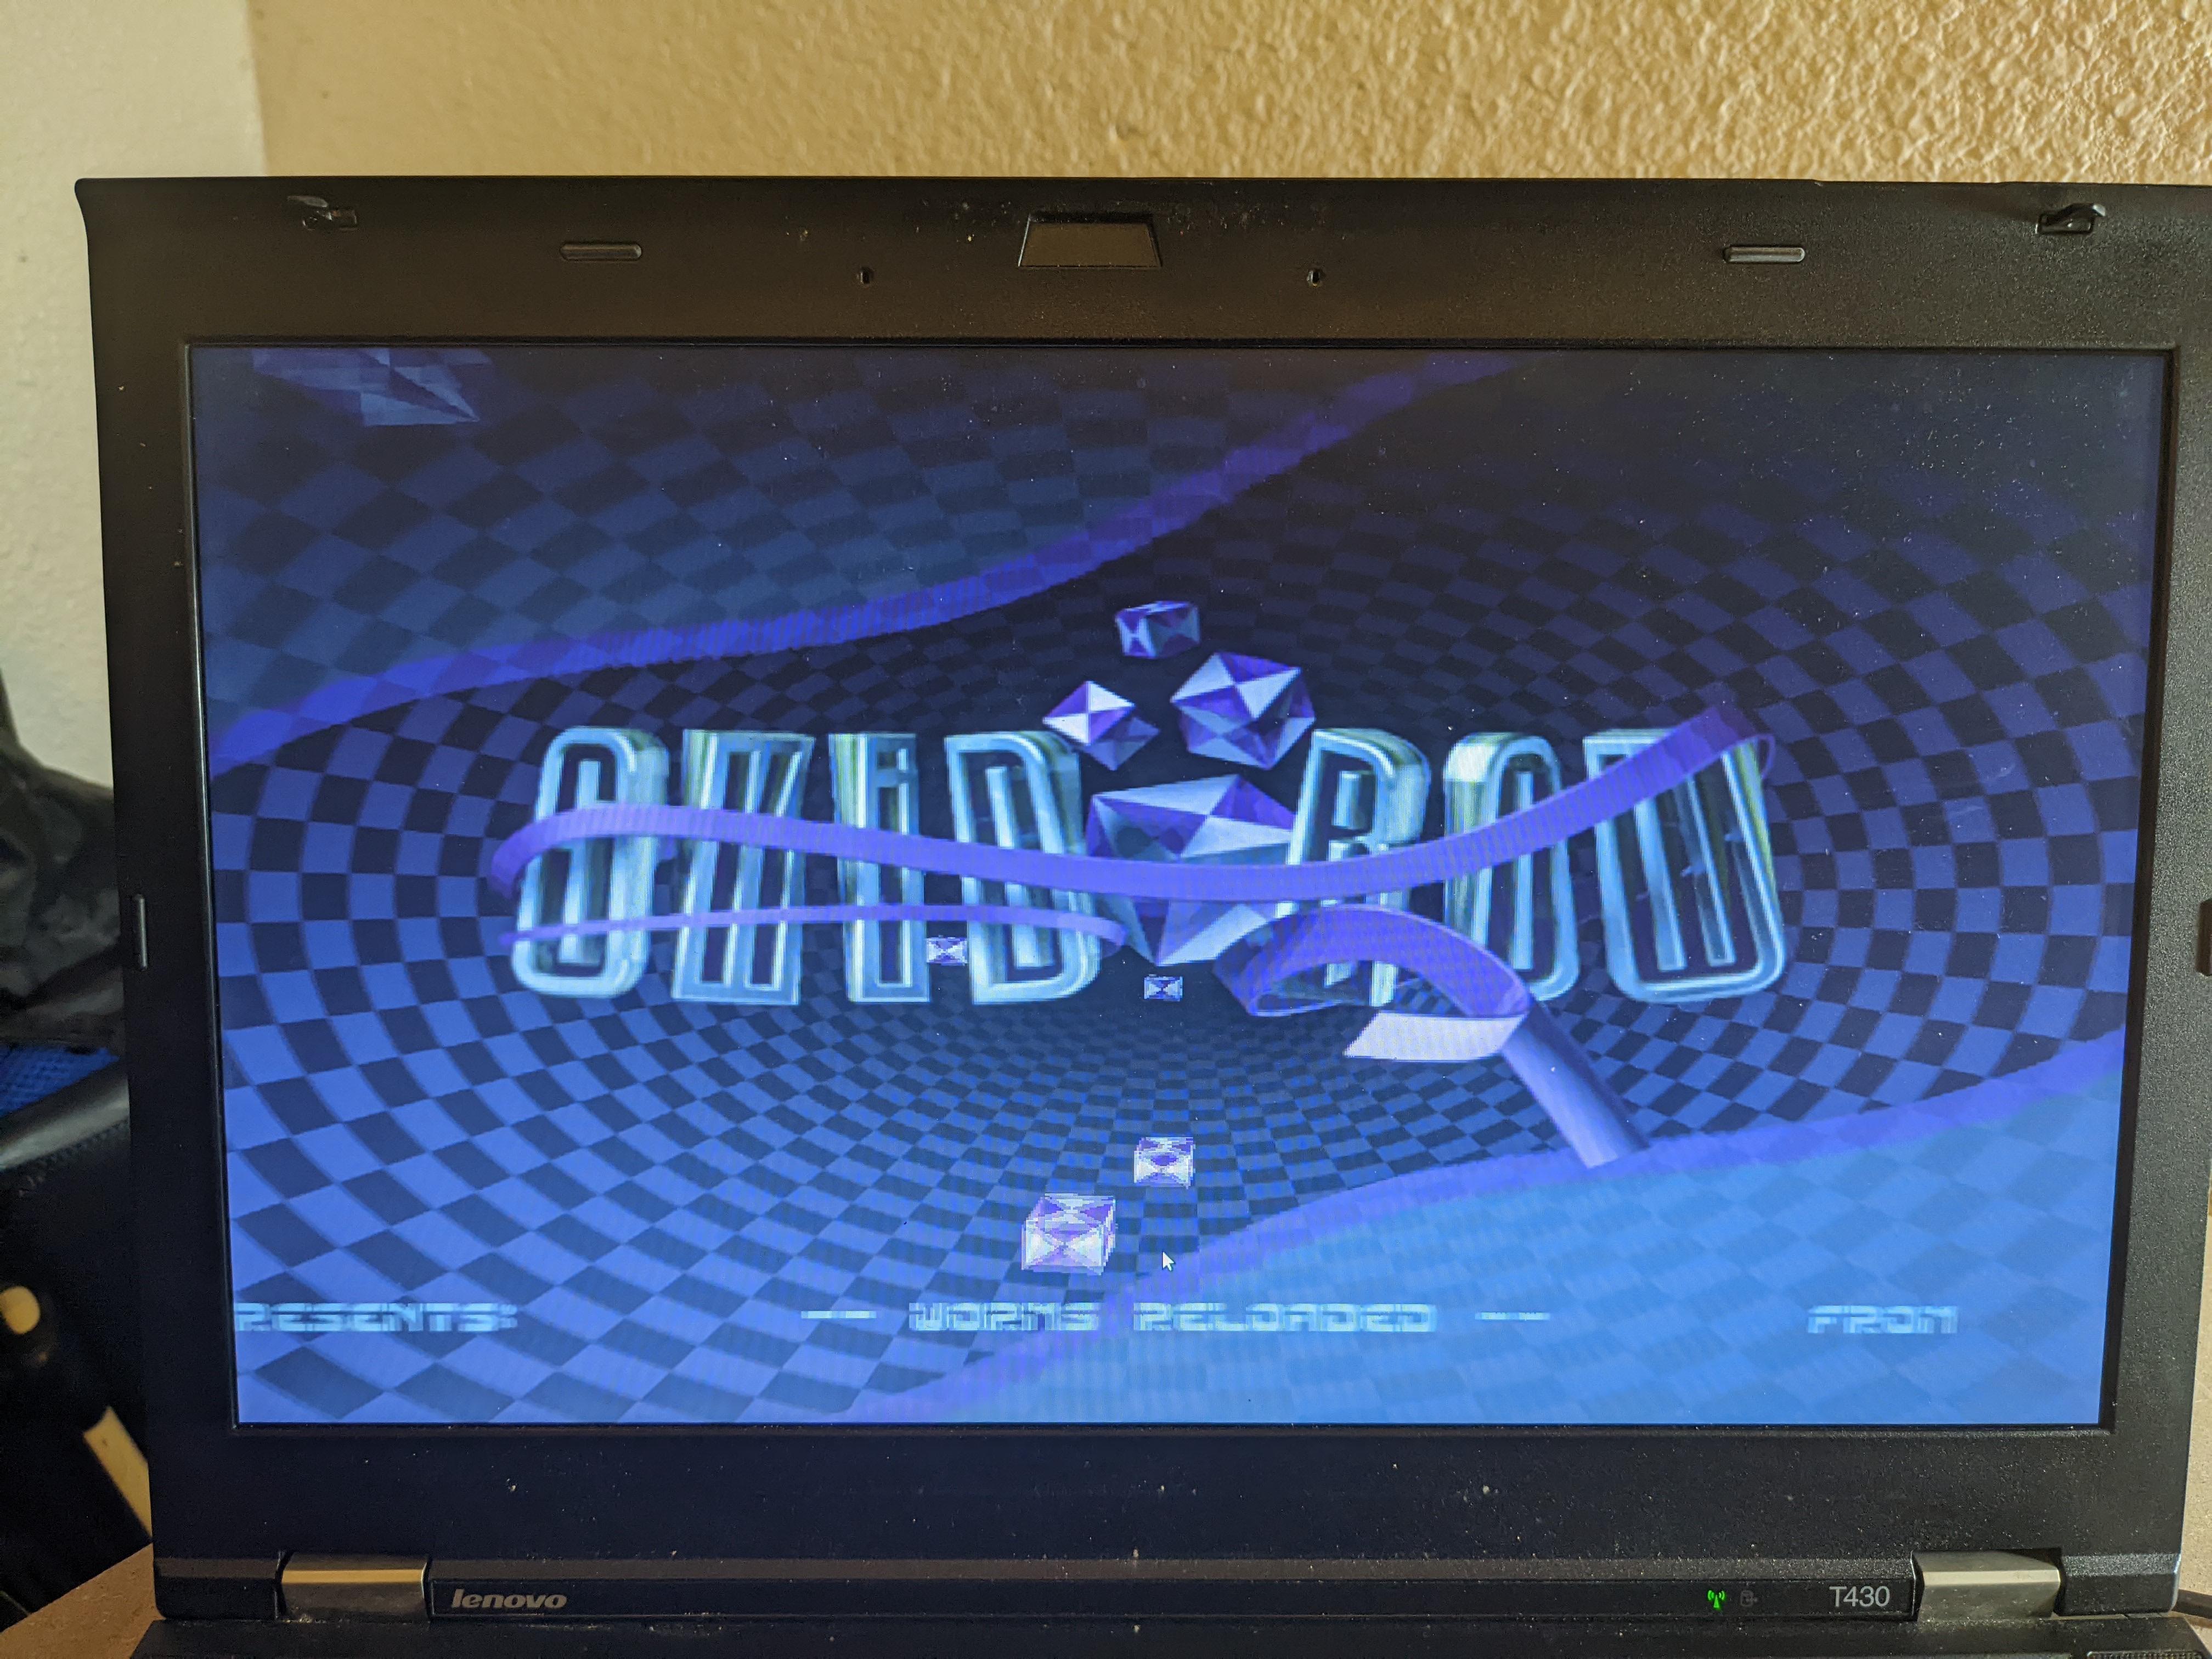
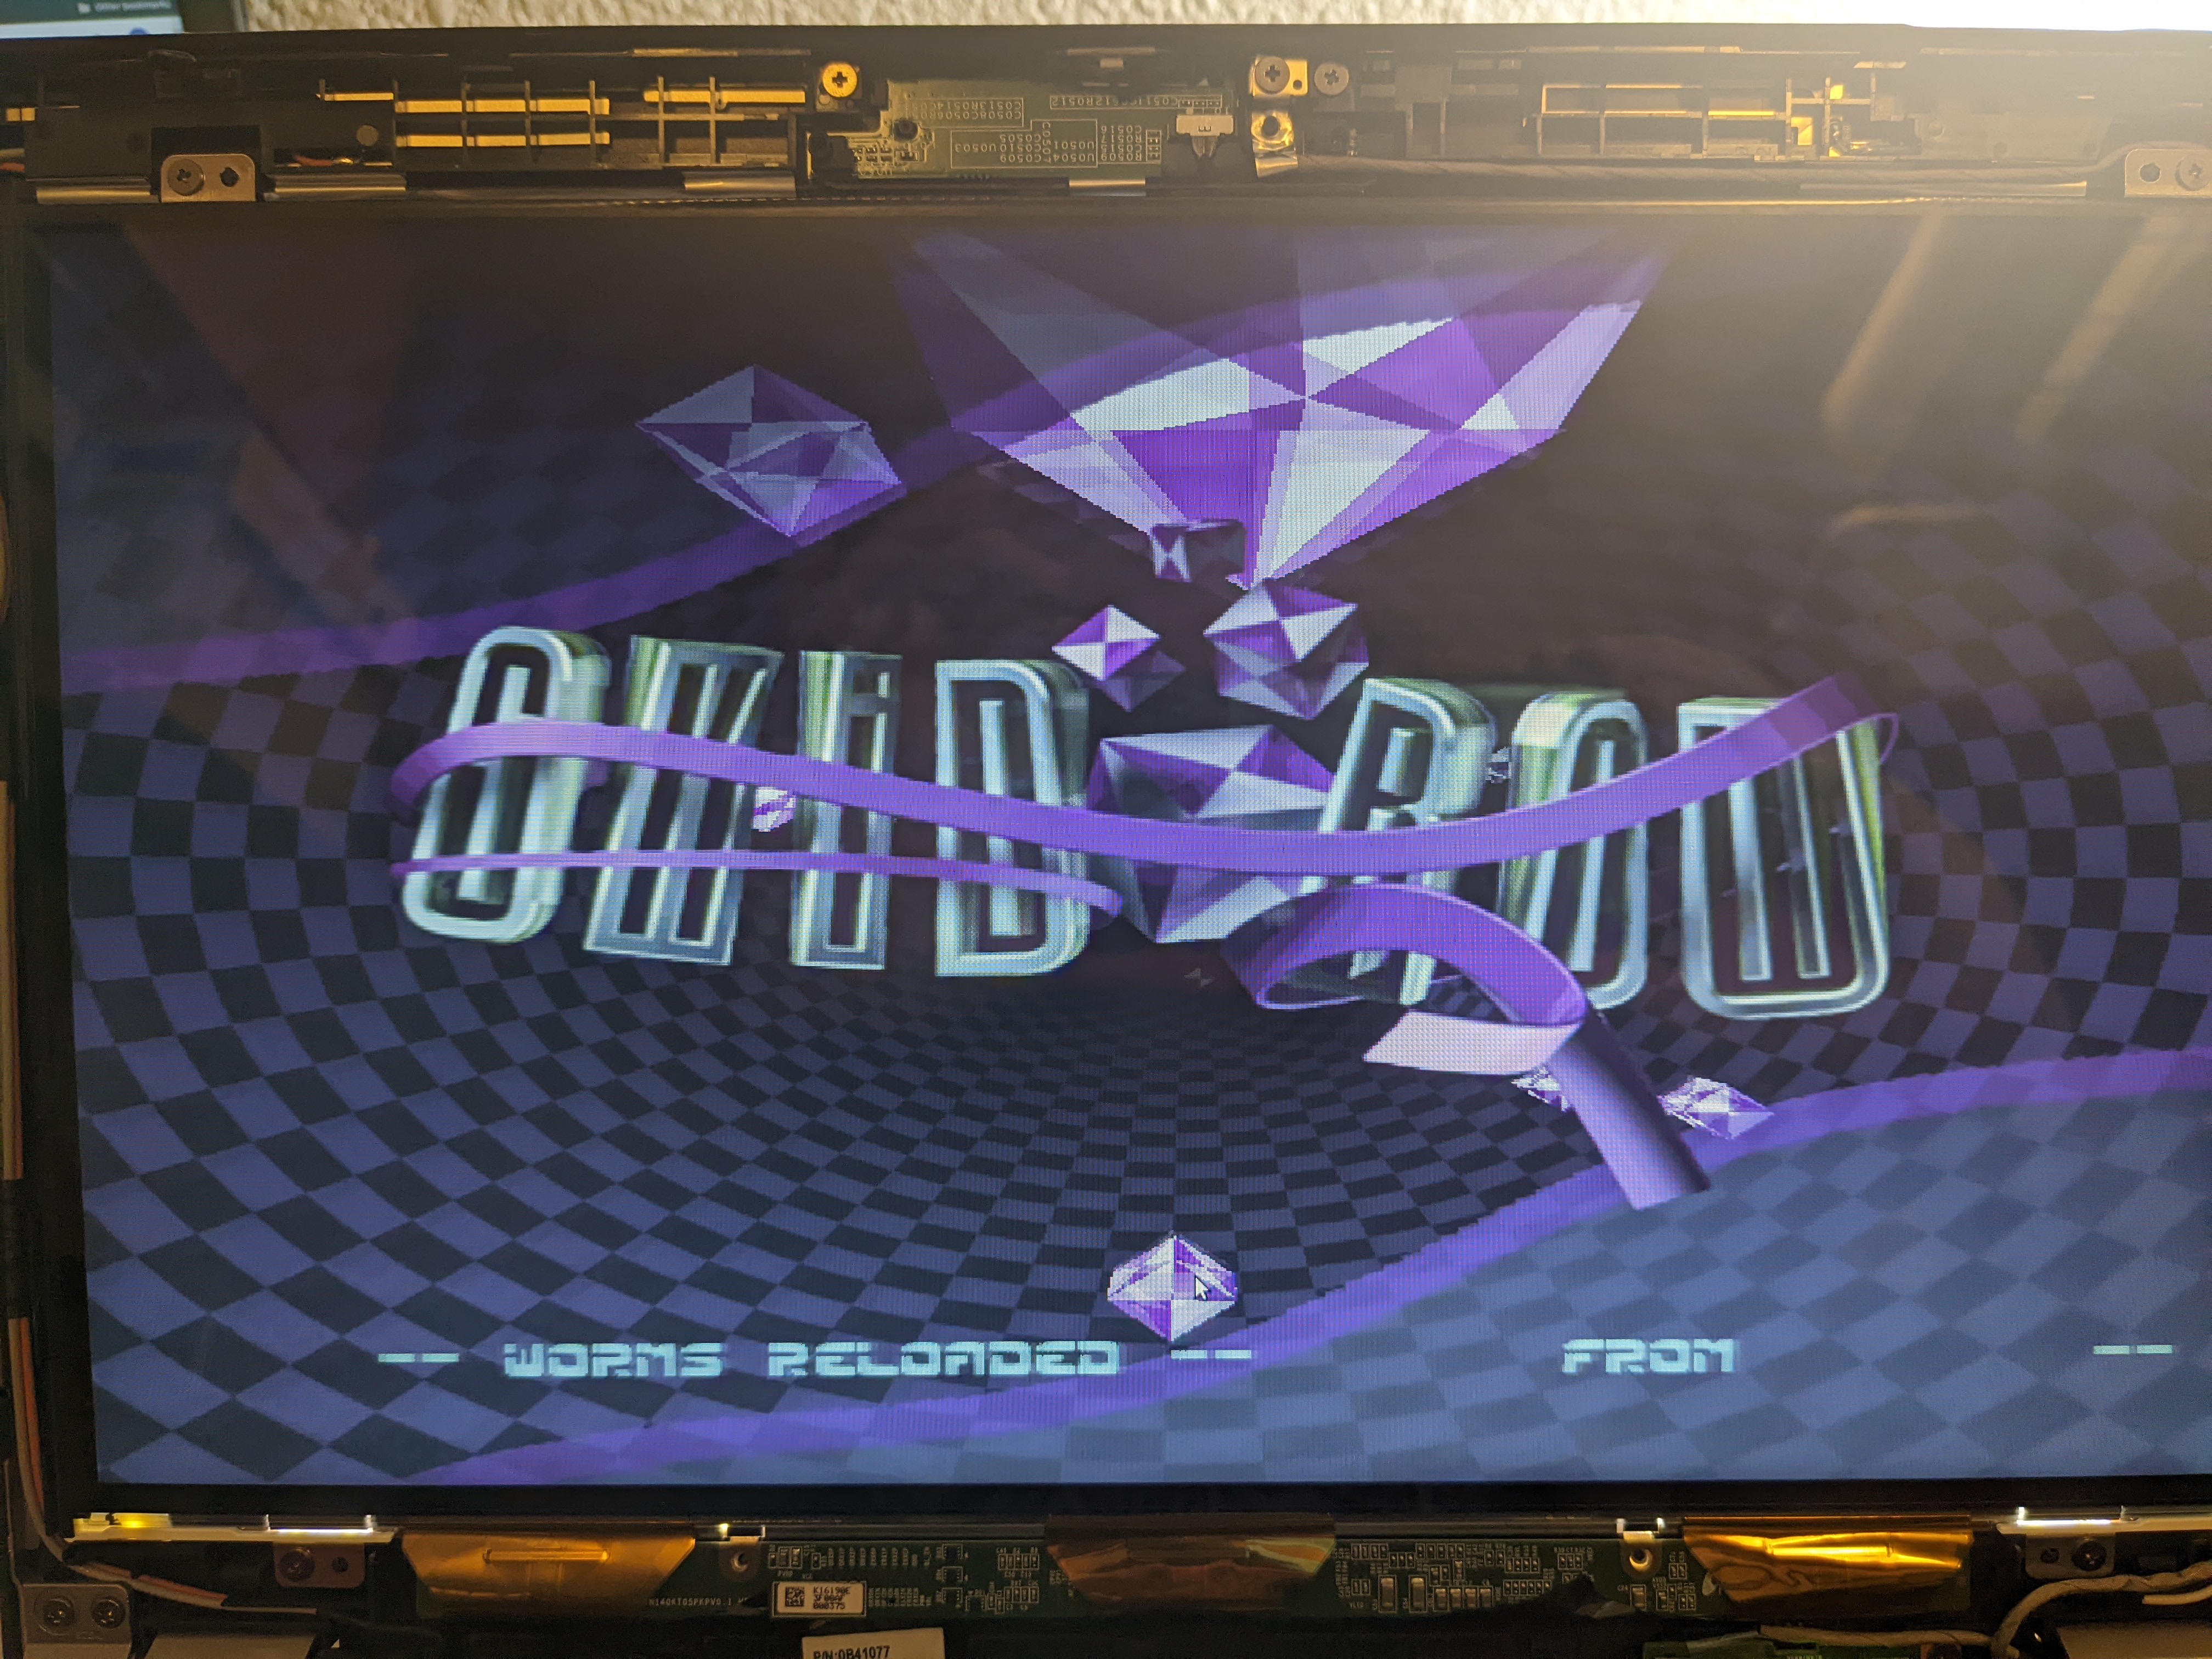
Removing the display from the Alienware assembly was pretty easy and I managed to get it out without damaging it. Installation was also pretty easy. My T430 actually already had a 1600x900 display but the new one looks so much better. I attempted to compare the two below but it might be hard to tell from the images.
The old screen:
 The new screen:
RAM
Then I updated the RAM which was pretty straightforward, just remove the old and insert the new. Although it does require removing the keyboard which I was doing anyways to install the new one.
One funny thing was the original two RAM sticks that were in my laptop were mis-matched:
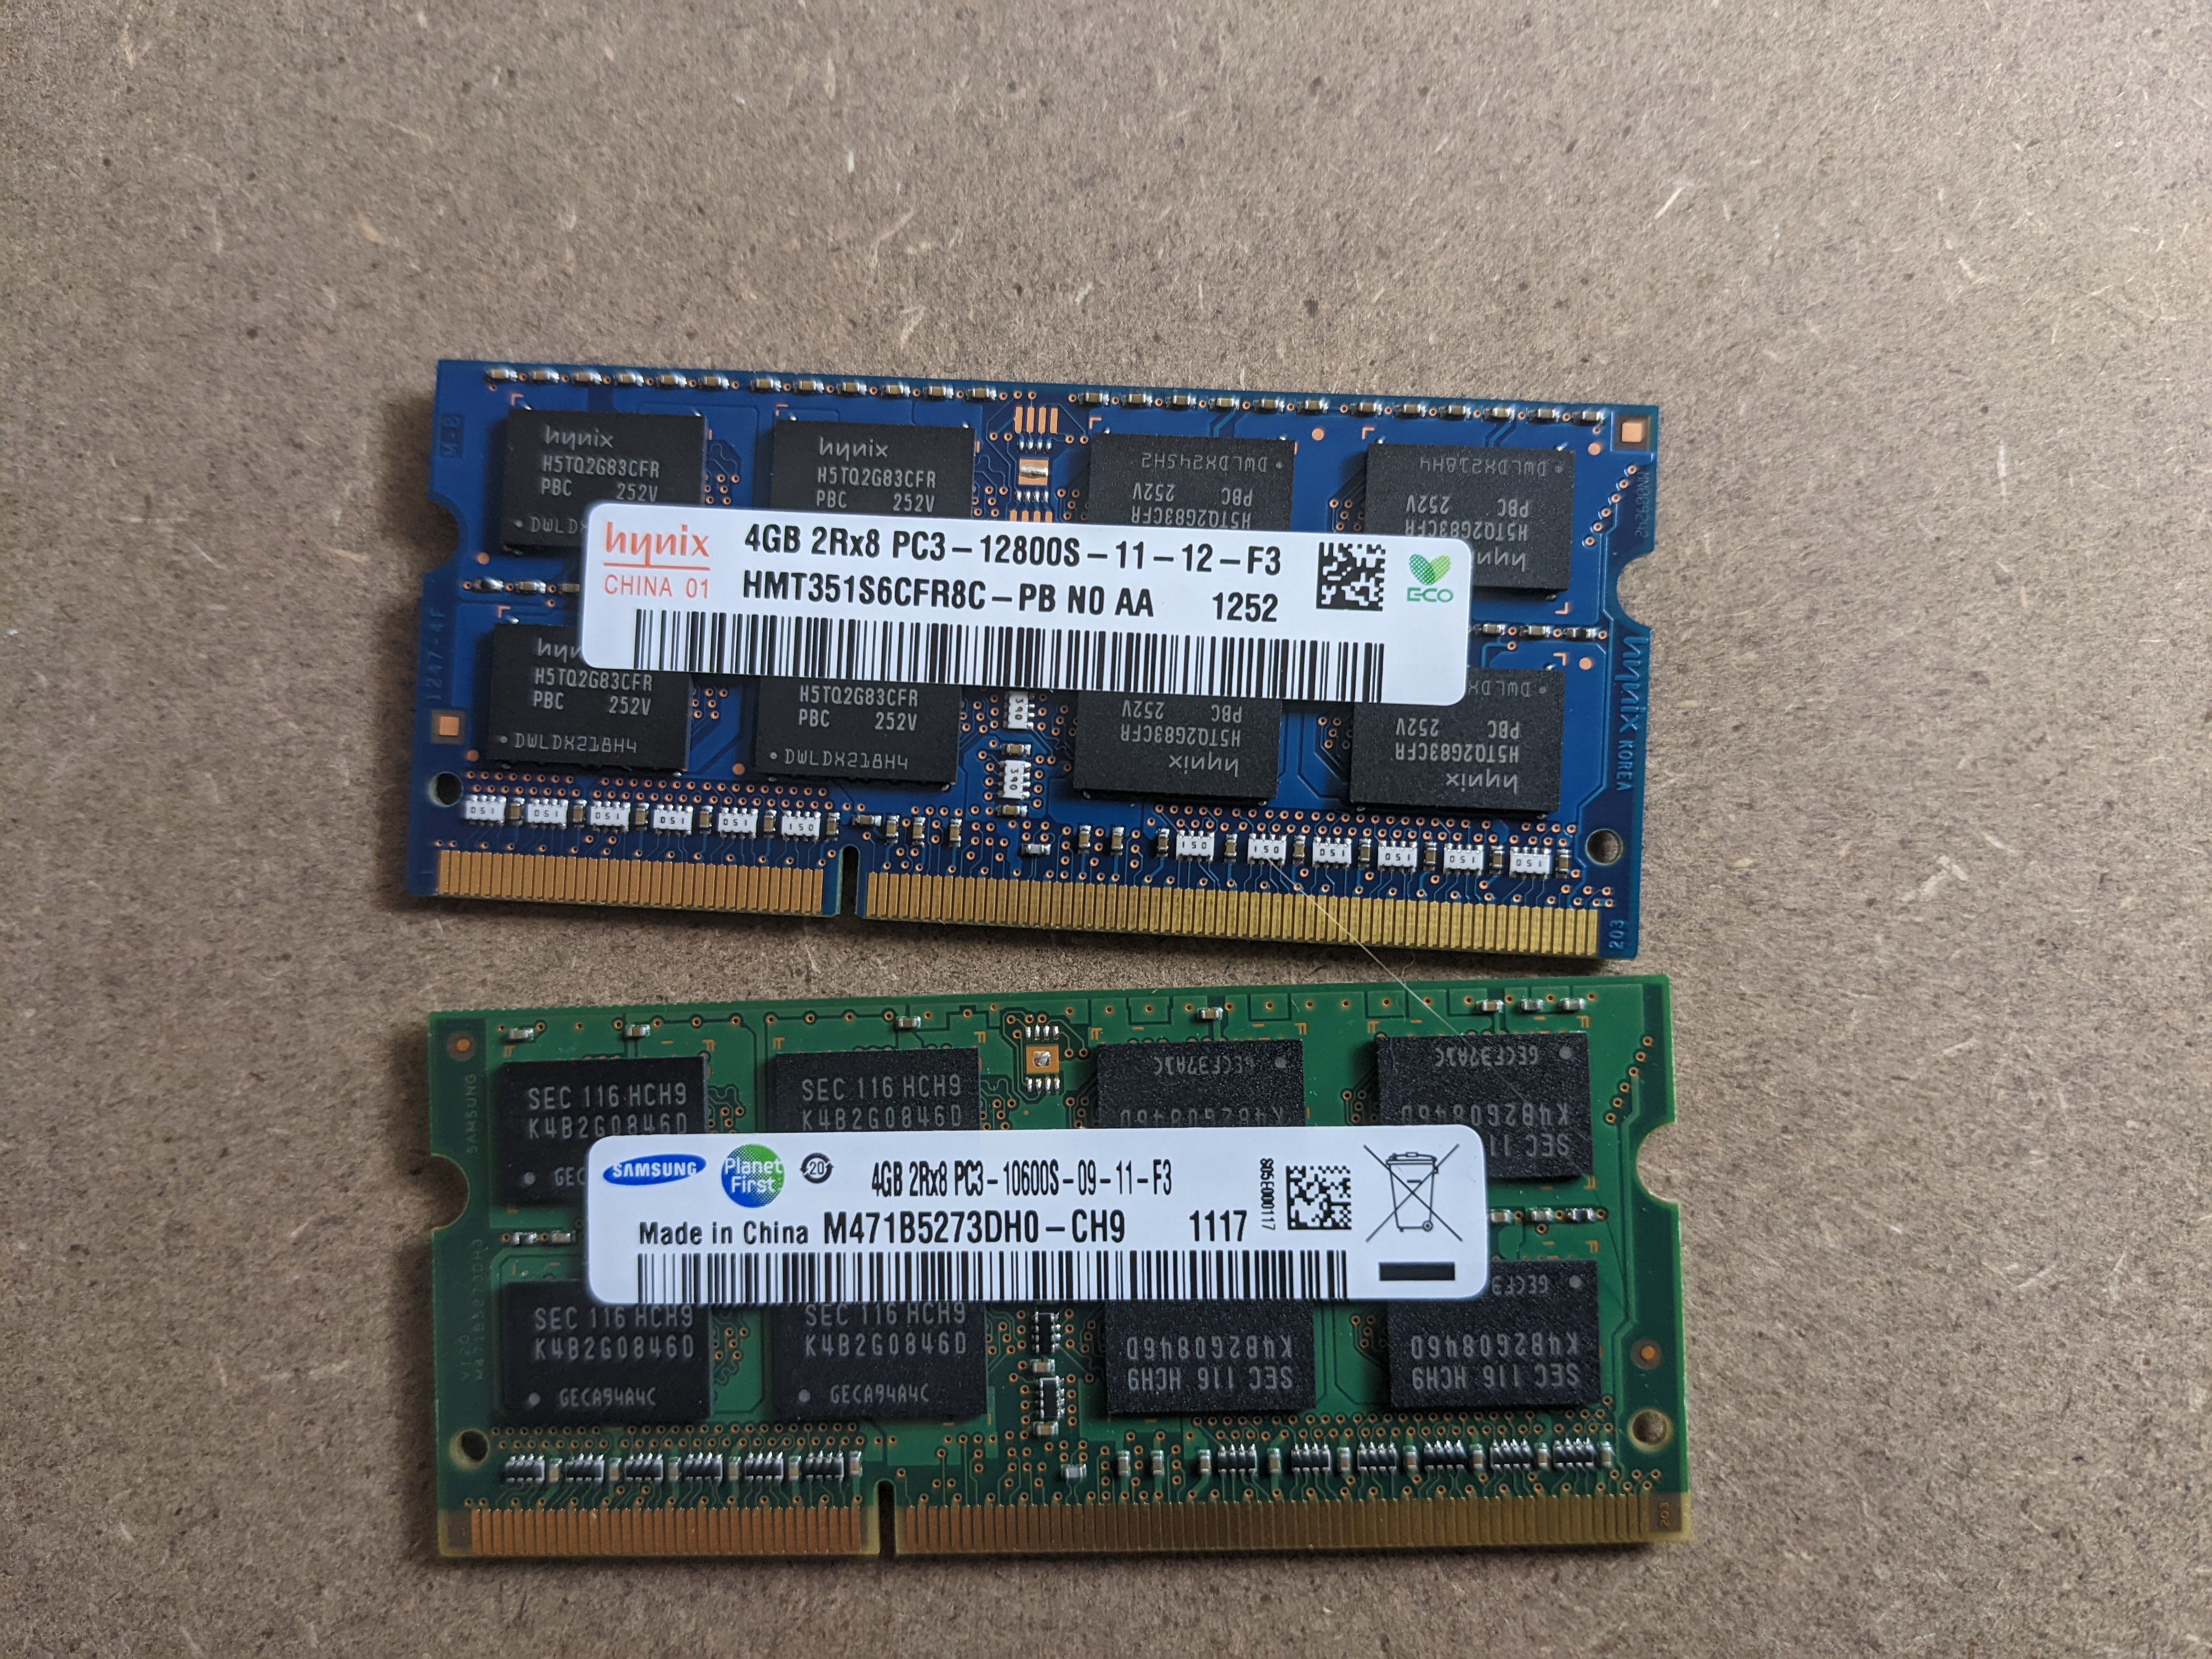
I don’t recall anymore as I purchased the laptop about 10 years ago but I bet it was refurbished and for some reason they had put two mis-matched RAM sticks in it.
Keyboard
Next up was the keyboard which was definitely the most work of this whole project. I relied heavily on this youtube video for the whole install as well as this imgur link. I dremeled down the nubs down and was able to get it to fit pretty well.
A couple things to note:
- I followed the steps to mask the pins on the keyboard cable as some pages online have said that it will break the ability to have your original T430 keyboard to be backlit. Well my original keyboard didn’t have a back light in it! Probably because it was refurbished. So, I decided to just not bother with it when I installed the keyboard again. Which brings me to the next note…
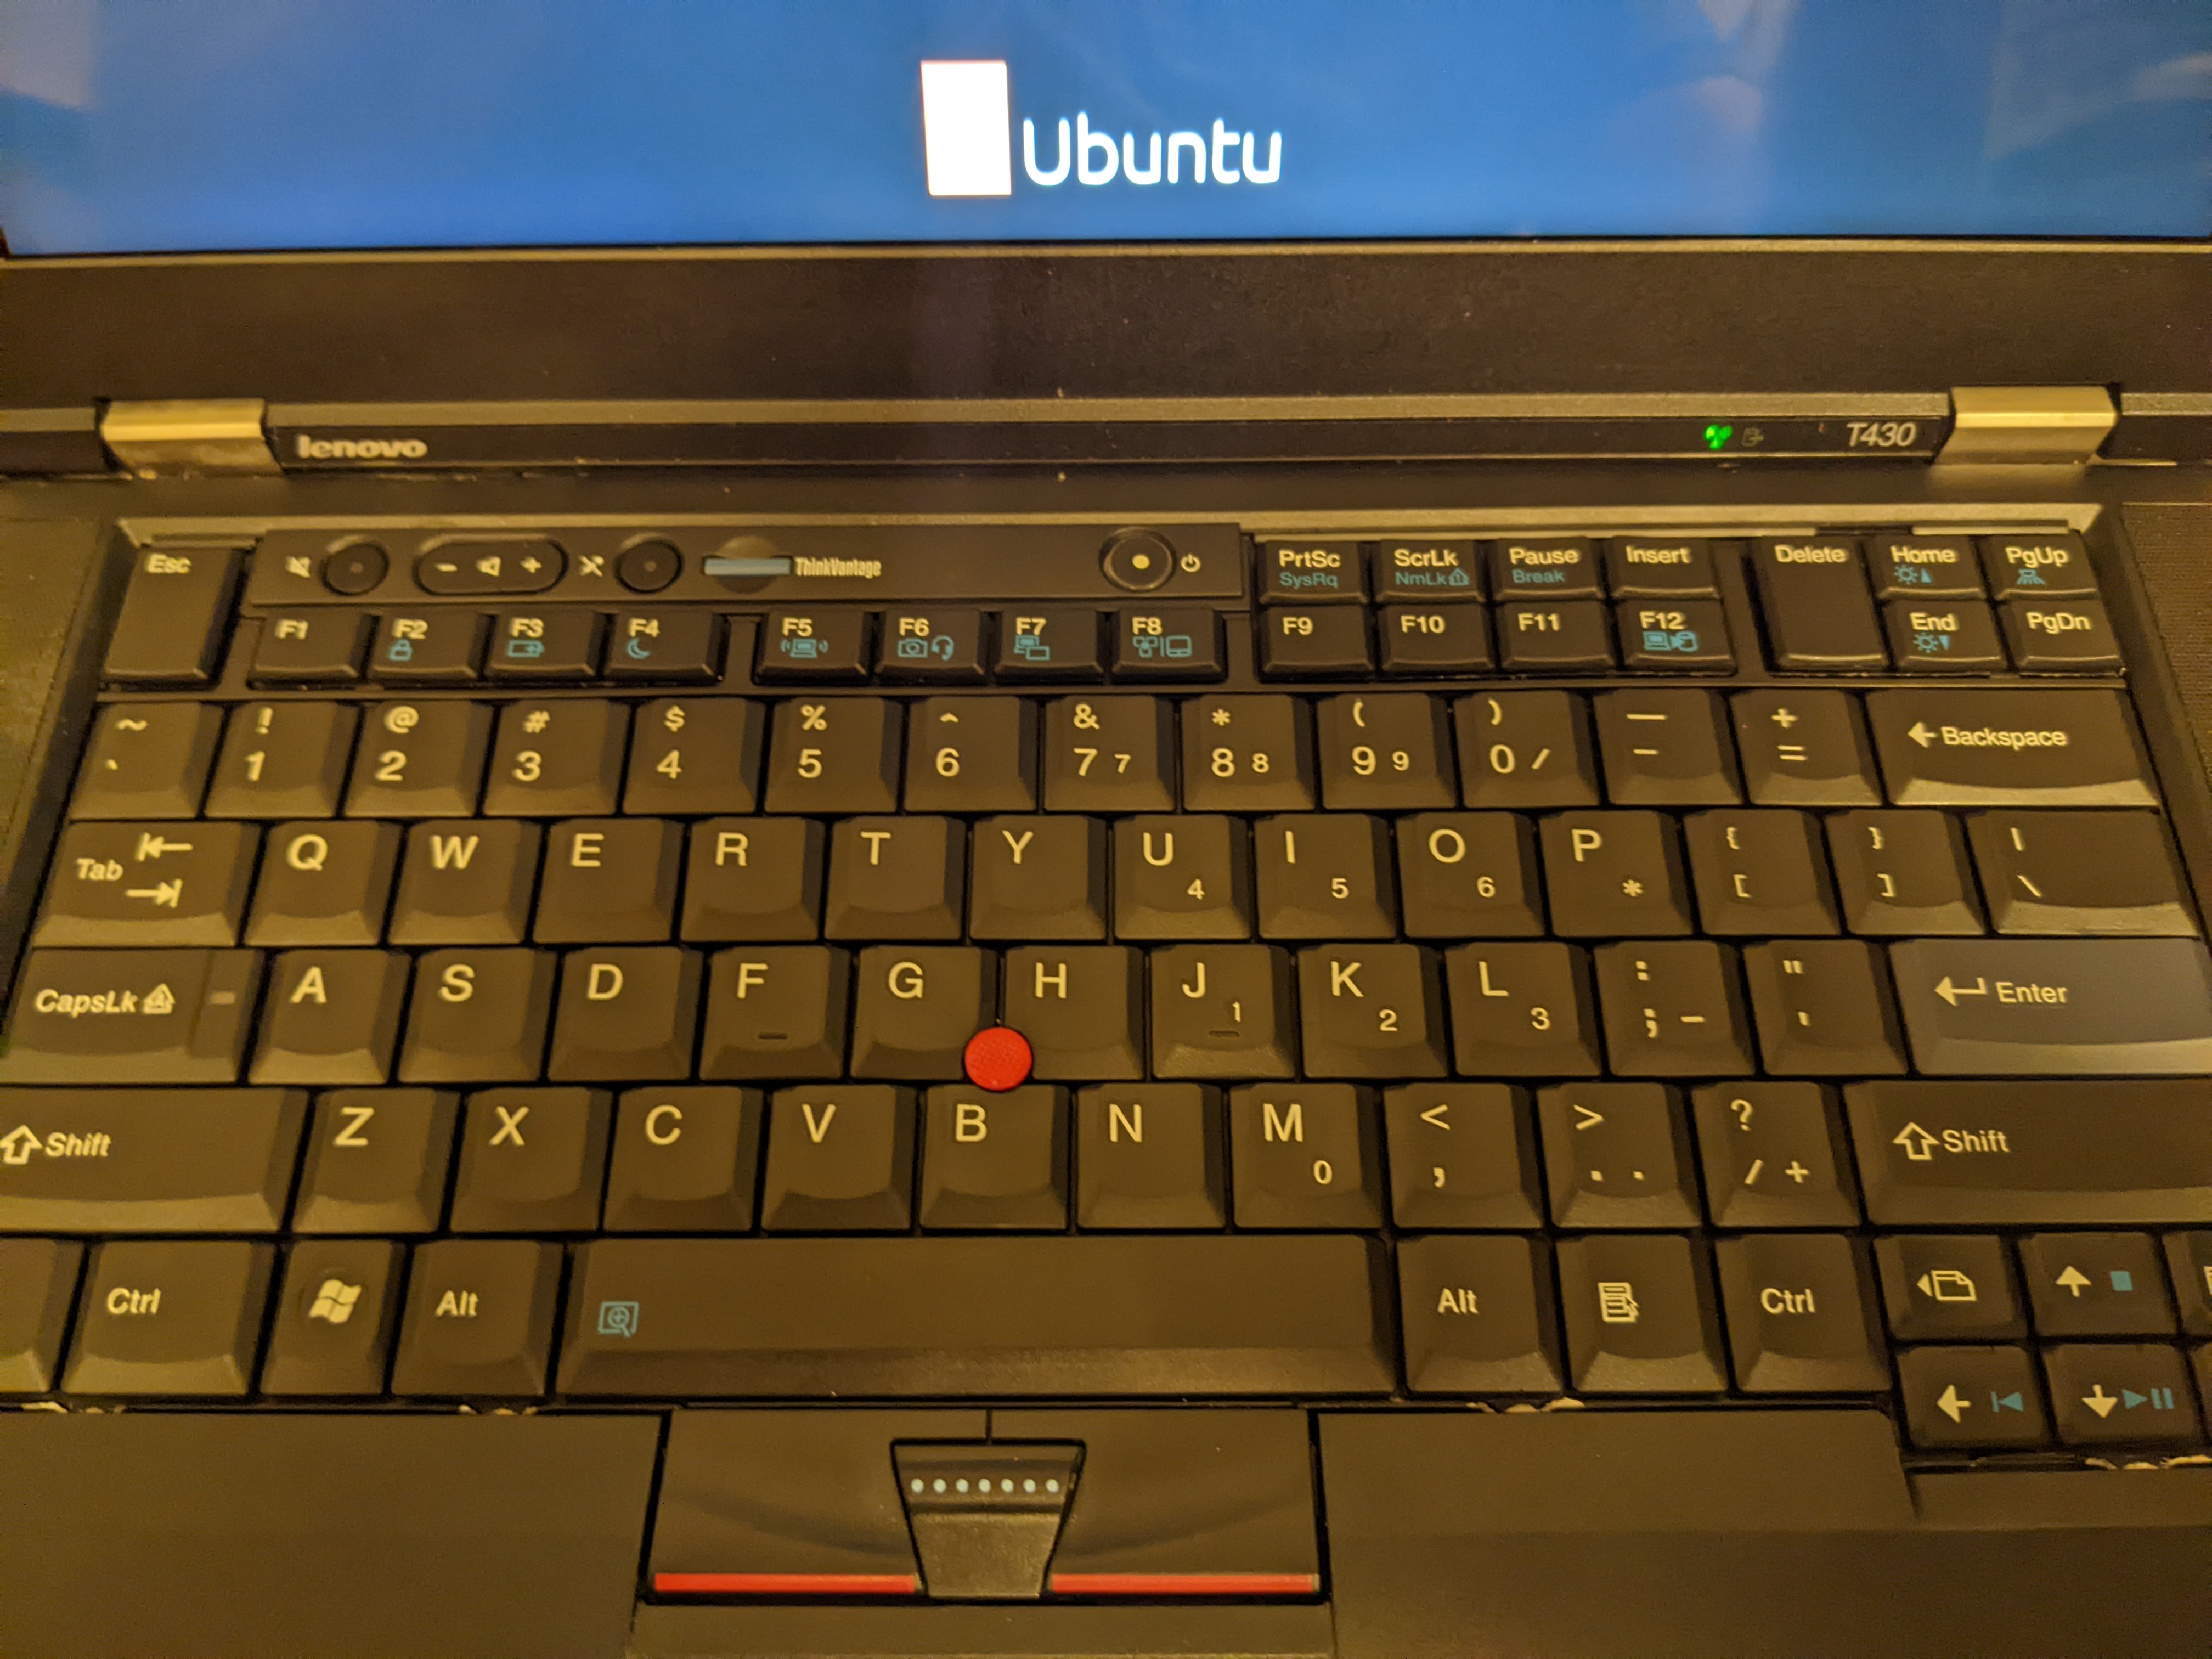
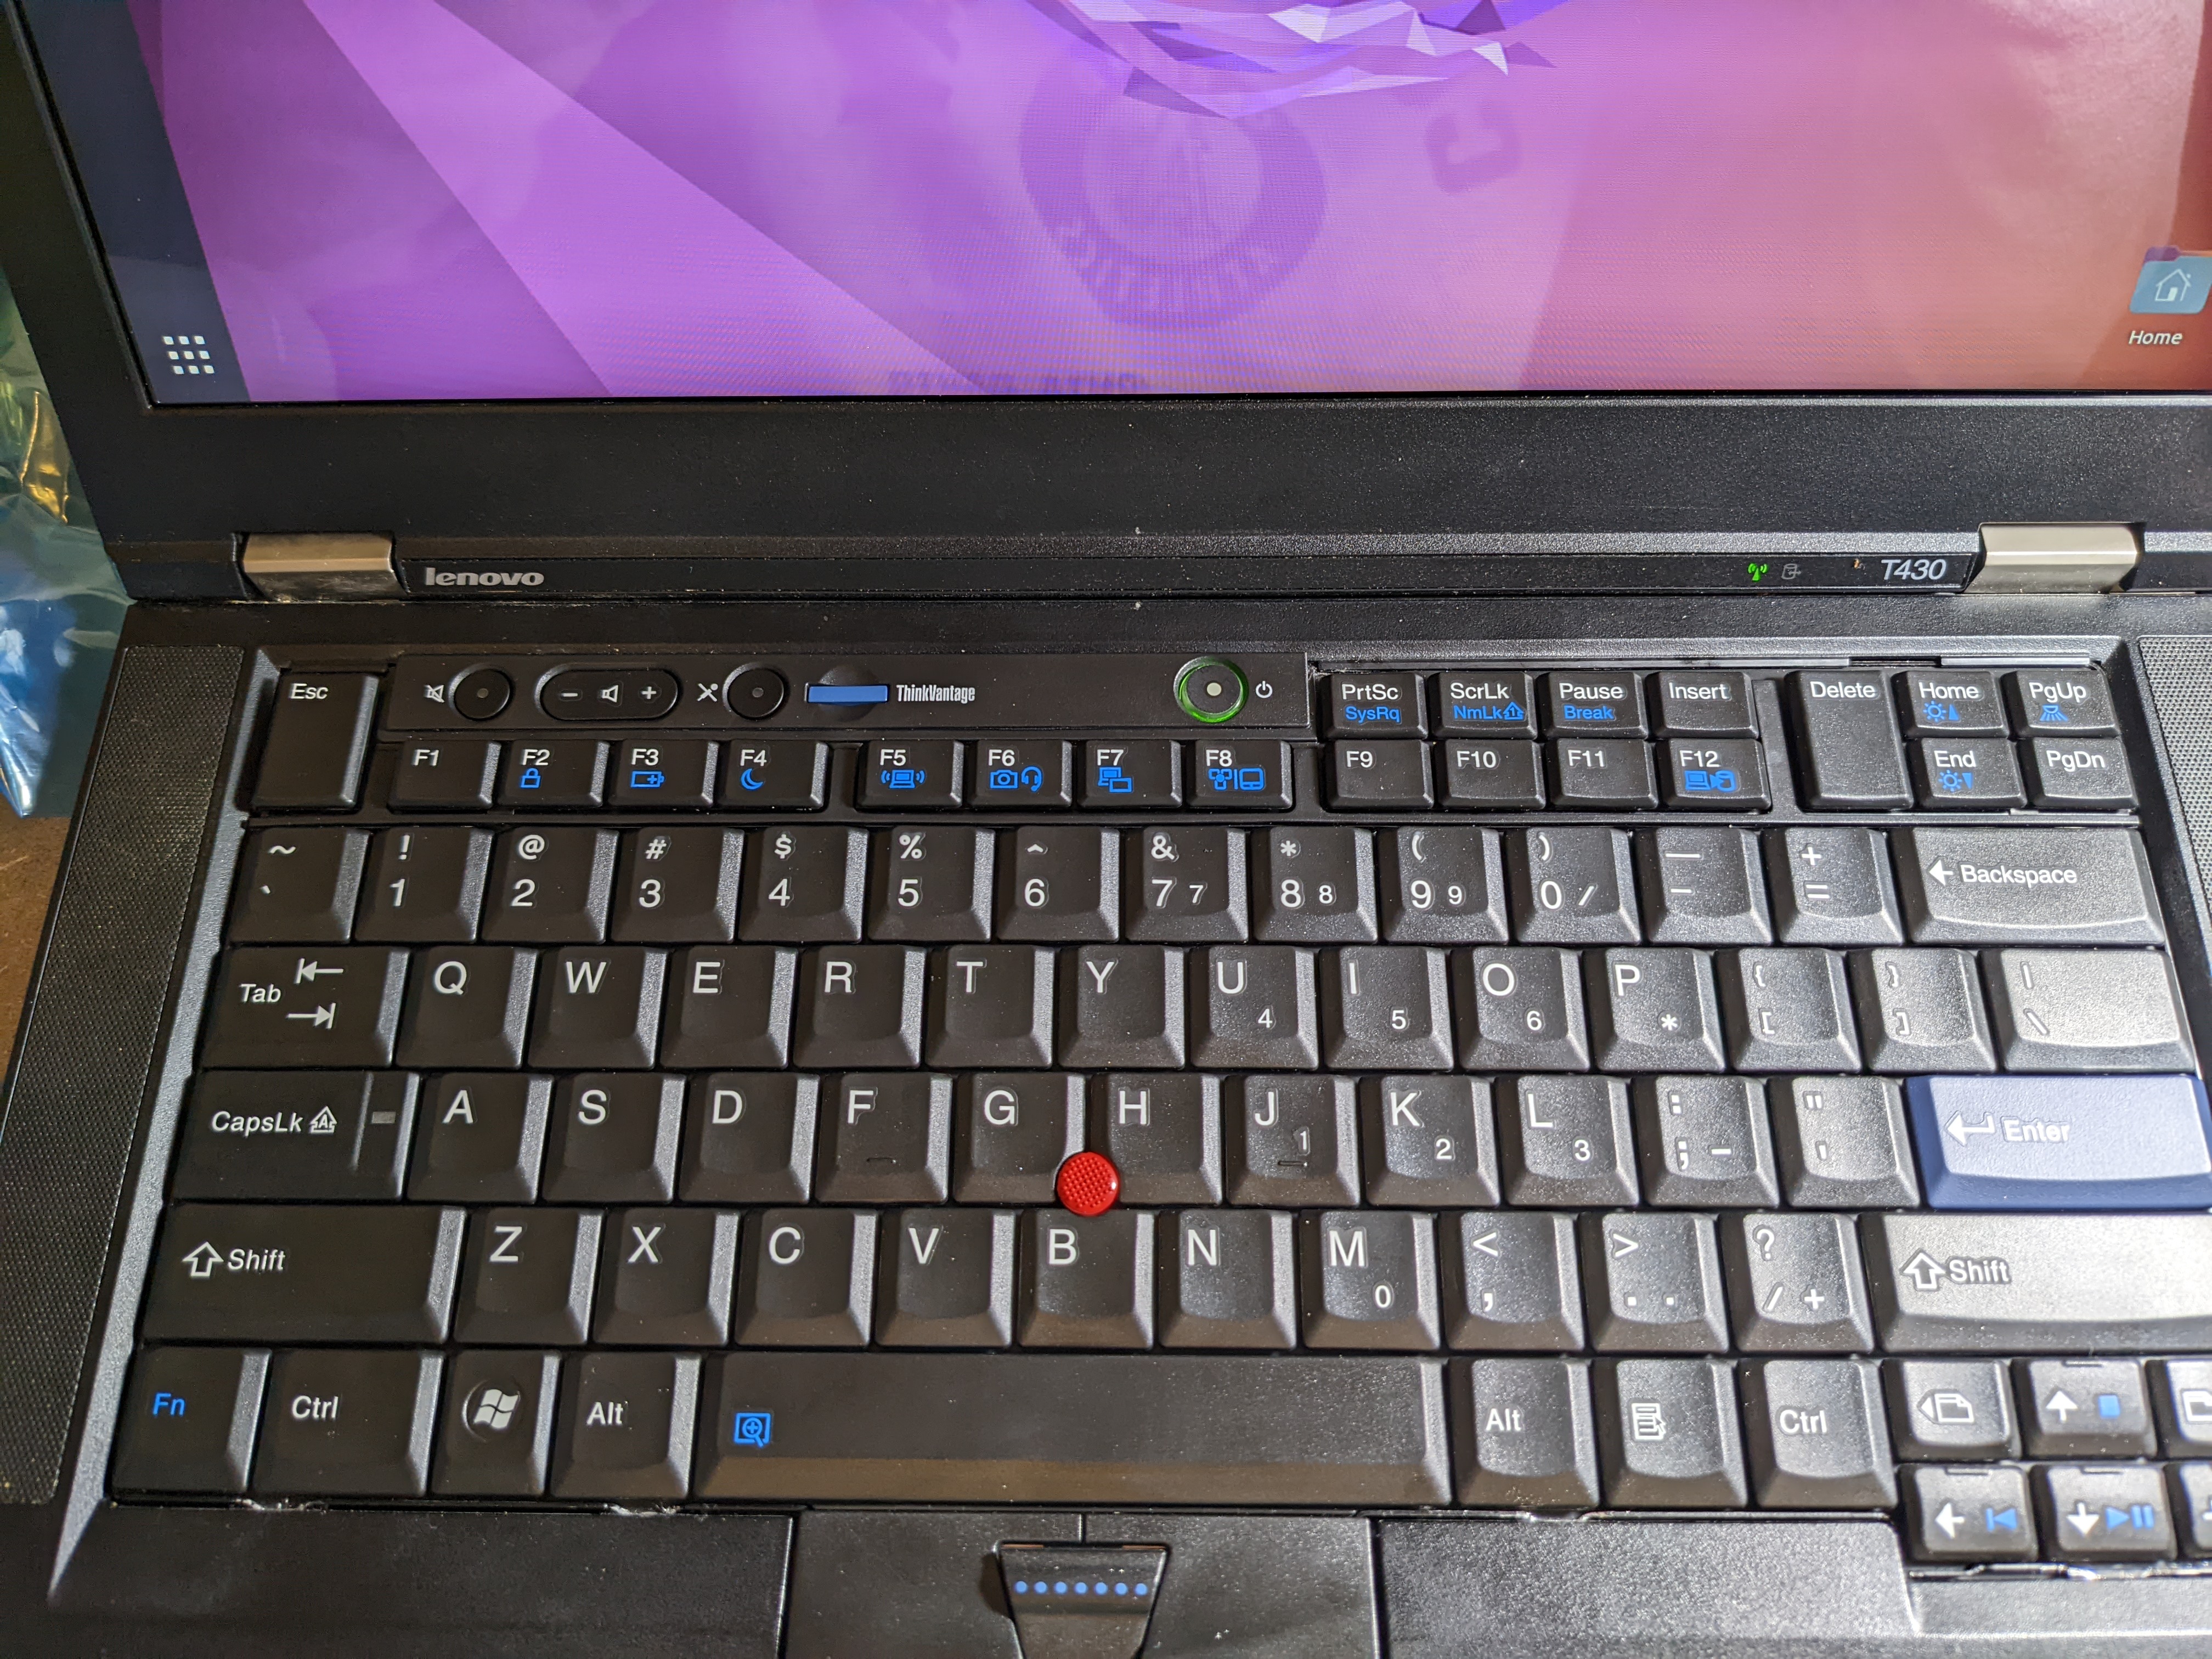
- The first keyboard I installed the ‘y’, ‘u’, ‘h’, ‘j’, etc. keys didn’t work. I think I must have messed something up with the install. (I did have it plugged in upside down for a bit which probably didn’t help.) So, I had to order another keyboard and when I plugged it in it worked perfectly!
The non-working keyboard:
 The working keyboard:
Hard Drive
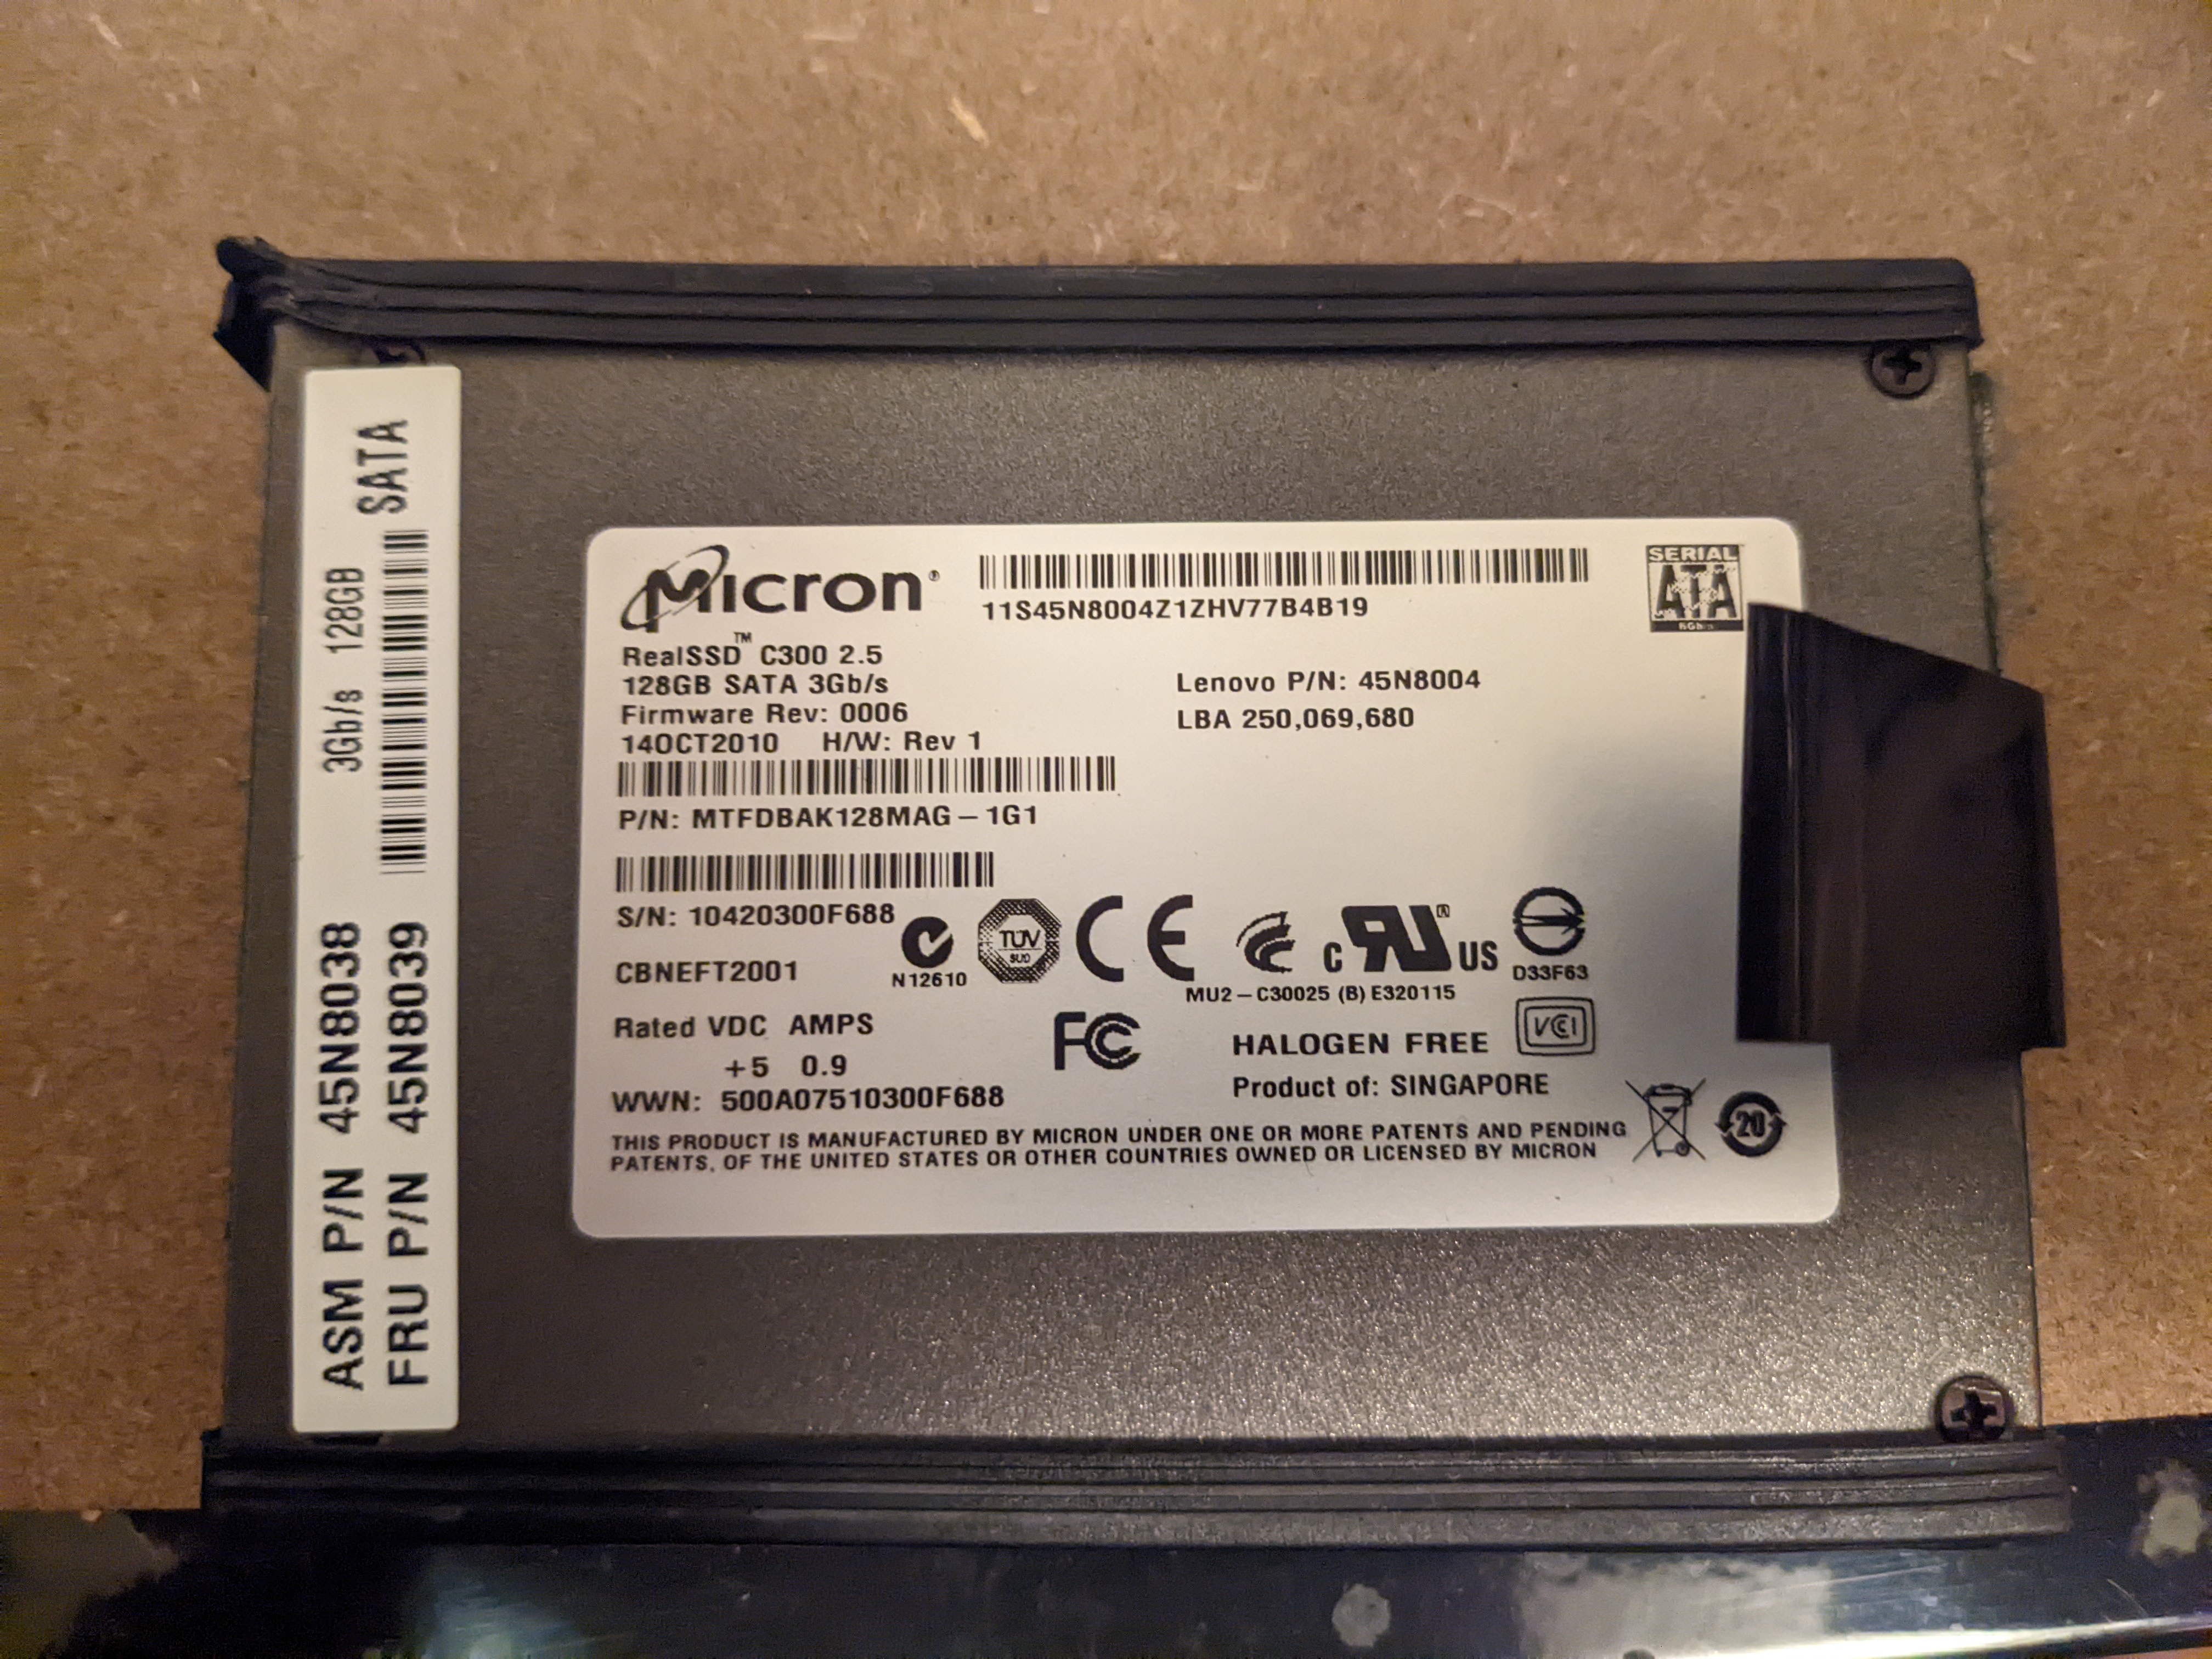
Finally it was time to install the new hard drive. This was really straightforward as it’s just plug and play.
Out with the old:
 And in with the new!
Conclusion
All in all, I’m quite pleased with how everything turned out. The new display was worth it on it’s own. The keyboard feels quite nice compared to the ‘chiclet’ style that was on there before. I haven’t gotten to use it much to take advantage of the speed gains from the RAM and new HD.
What’s left to do? I would like to upgrade the CPU at some point if/when prices come down. And it needs a new CMOS battery so that will be the next thing I fix. I will post updates on my blog if I make any more upgrades so tune in!